

The Ultimate Guide to Mounting a Rooftop Tent: Insider Tips & Tricks

Rooftop tent camping has taken the outdoor adventure scene by storm, and for good reason. Allowing campers to sleep off the ground, away from moisture and pests, rooftop tents provide an unmatched blend of convenience and comfort. These nifty innovations turn any vehicle into a mobile campsite, ready at a moment's notice.
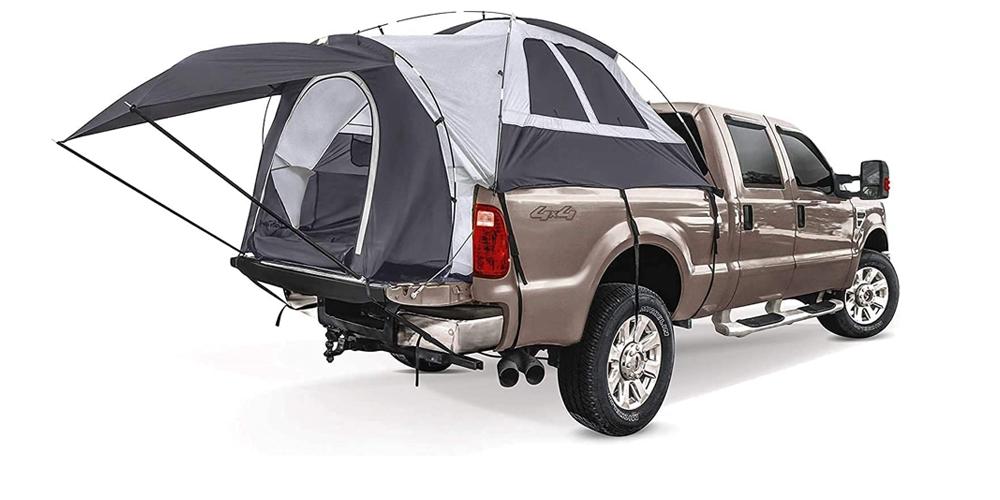
Related Reading: How to Pick a Truck Tent for Your Pickup
The advantages of rooftop tents are numerous. They set up in minutes, provide a commanding view of your surroundings, and pack away just as easily. But the appeal isn't just practical; there's a romance to spending a night atop your vehicle under the stars that traditional tents can't match.
Whether you're a seasoned camper looking to elevate your experience or a newbie curious about the rooftop camping craze, you've come to the right place. Our ultimate guide to mounting a rooftop tent will teach you everything you need to know about this nifty invention—and then some.
Things to Know Before Starting Your Rooftop Tent Journey
Now, before you spend your hard-earned cash on a sleek, expensive tent that you may end up not using, there are a couple of things you must prepare.
1: Understanding Your Vehicle's Roof Capacity
Knowing your car’s roof capacity helps you determine the size and type of tent it can safely carry. Gather the following details:
- Dynamic Weight Capacity: This is the amount of weight your vehicle can carry while it’s moving. This figure is essential for when you’re driving with the tent on your roof.
- Static Weight Capacity: This is the weight your vehicle can bear when parked. It's generally higher than the dynamic weight capacity because the vehicle is stationary and can support your weight plus the tent’s when you're inside.

2: Selecting the Appropriate Roof Rack
With your vehicle's capacities in hand, it's time to choose a roof rack:
- Compatibility: Ensure the roof rack is compatible with your vehicle’s make and model. Not all racks fit all vehicles.
- Weight Handling: Check that the roof rack can support the weight of your tent. It should be rated for both the tent’s weight and any additional gear you plan to bring along.

- Type of Rack: Decide between cross bars or a full roof rack system. Cross bars are generally sufficient for smaller tents, while full racks provide more support and versatility for larger tents and extra equipment.
- Installation: Consider how the rack mounts to your vehicle. Some attach to existing factory mounting points, while others may require drilling or special brackets.
- Quality and Durability: Choose a roof rack that is sturdy and built to last. It should be able to withstand the rigors of travel and the elements.
3: Choosing the Right Tent
Now it's time to pick the tent that will become your home away from home:
- Tent Type: Decide between a softshell tent, which is typically lighter and more affordable, and a hardshell tent, which offers better durability and aerodynamics.
- Size and Capacity: Consider how many people will be using the tent. Solo travelers or couples might be comfortable in a two-person tent. Families or those who want more space might opt for a larger model.
- Compatibility with Vehicle and Rack: Ensure the tent’s mounting system aligns with your roof rack. Some tents have universal mounting systems, while others are brand-specific.
- Investment: Determine your budget. Rooftop tents can be a significant investment, so consider how often you’ll use it and what features are most important to you.
Take the time to do your research, and don't hesitate to reach out to manufacturers or experienced rooftop campers for advice. Once you have all the right equipment, you can jump right to the next step!
How to Mount a Rooftop Tent: A Step-by-Step Guide
NOTE: Every tent and vehicle combination will be different. When in doubt, review your tent manufacturer’s instruction manual to avoid costly and damaging errors.
Ensure you have all the necessary tools and hardware laid out. You’ll typically need a socket wrench set, perhaps some Allen keys, and a measuring tape. Remember, safety first: use gloves to protect your hands and ensure your vehicle is on level ground.
Step 1: Aligning the Mounting Tracks
Your first step is to align the mounting tracks on your roof rack or cross bars. These tracks are the foundation of your tent’s stability. Position them parallel to each other, spaced as per the tent manufacturer’s guidelines.

Use a measuring tape to ensure equal distance from the front and back of your vehicle's roof, as well as from side to side. This ensures your tent will sit balanced, which is vital when you're driving.
Step 2: Lifting the Tent
This is where you’ll need some muscle. With the help of friends or family, lift the tent onto your vehicle’s roof, placing it carefully onto the prepared mounting tracks. Ensure that the tent’s base is parallel to the tracks and that the overhang is even on all sides. The goal here is to place it so that it won’t catch too much wind as you drive, which could affect your vehicle's handling.
Step 3: Securing the Tent
Once the tent is positioned correctly, start attaching it with the provided mounting hardware. This usually involves sliding bolts through the tracks and tent base and then screwing on nuts from below.

Tighten each bolt and nut by hand initially, ensuring the tent is snug against the rack. Then, with your wrench, tighten them to the specifications given by the tent manufacturer.
WARNING: Don’t over-tighten the nuts. Doing so could strip the threads or warp the mounting equipment.
Step 4: Double-Checking Your Work
After all the hardware is in place, give everything a once-over. Push and pull the tent in various directions to ensure there's no movement. The tent should feel like a part of the vehicle. Look for any parts that seem misaligned or any hardware that doesn’t seem secure.

If you find a bolt that turns a bit too easily, tighten it just a bit more. However, if you notice significant movement or misalignment, you may need to loosen the bolts and readjust the positioning of the tent before securing it again.
After Installation: Making Adjustments and Add-Ons
Congratulations on installing your new rooftop tent! Before you hit the road, let's make sure everything is optimized for your adventures:
- Check Tent Placement: Your tent should be centered for even weight distribution. If it looks off-balance, loosen the mounting hardware slightly and adjust the tent's position.
- Slide for Aerodynamics: If your tent is too far forward or back, it can catch the wind and create drag. Slide the tent along its tracks — most tents have adjustable bases — to a position that feels balanced.
- Tighten and Test: Once you’ve found that “sweet spot,” retighten the hardware. Give the tent a gentle shake to ensure everything is secure and there’s no unwanted movement.
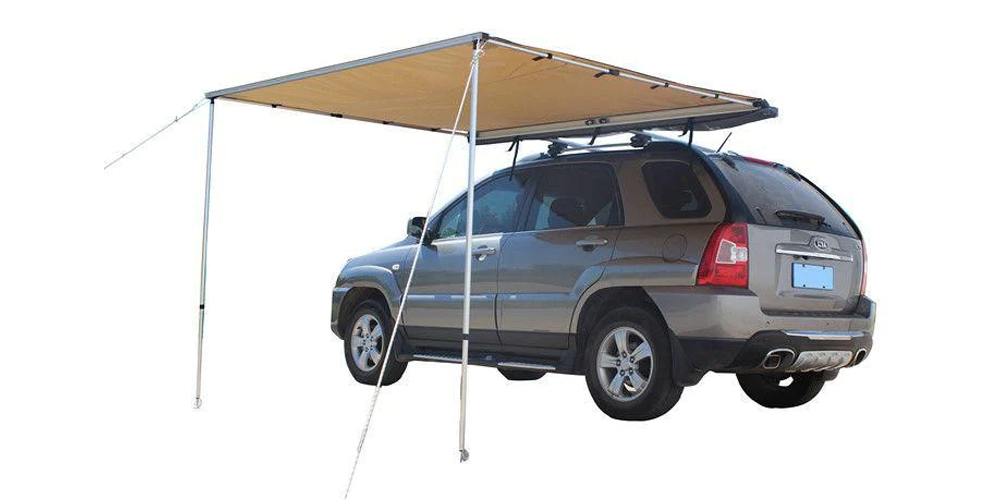
- Add Awnings: Consider attaching awnings for extra shade and shelter. These usually clip onto the tent or the vehicle's roof rack and can be rolled out as needed.

- Explore Storage Options: If you need more space for gear, look into cargo boxes or additional racks that attach to your tent or vehicle. Make sure any add-ons are compatible with your roof rack system.
- Consider Solar Panels: For extended trips, solar panels can be a game-changer. Some tents allow for panel attachments on top—or you might mount them on the roof rack beside the tent.
- Final Inspection: Do a final inspection of the entire setup. Check that all additional gear is secured and that the tent hasn’t shifted during the add-on process.
Rooftop Tent Maintenance and Care
Taking care of your rooftop top ensures it remains a cozy and reliable shelter on all your adventures. Here’s a quick step-by-step guide that you can follow:
Inspect Mounting Hardware Regularly
After each trip, take the time to check the bolts, nuts, and mounting brackets that secure your rooftop tent to your vehicle. Ensure everything is as tight as the day you installed it. Vibration from the road can loosen these components over time, so this step is important for your safety and the tent's longevity.
Examine for Wear and Tear
Look over the tent fabric for any signs of damage such as rips, tears, or areas where water might seep through. Don't forget to inspect the tent's frame, ladder, and other structural elements, too. Catching issues early can prevent them from becoming bigger problems down the line.
Clean the Tent Fabric
Use mild soap and water to clean the fabric of your tent. Avoid harsh chemicals or pressure washers, as these can damage the material. For stubborn dirt, use a soft brush to gently scrub the area. Rinse thoroughly with clean water and let the tent dry completely before packing it away.
Air Out the Tent
After each use, especially in damp conditions, set up your tent to air out once you're home. Moisture can lead to mold and mildew, which not only smell bad but can also degrade the fabric of your tent. Open all doors and windows to ensure thorough ventilation.
Store Properly
When not in use, store your tent in a dry, covered area to protect it from the elements. If possible, leave it loosely folded rather than tightly packed to prevent creases and wear on the fabric. Check the manufacturer’s guidelines for any specific storage recommendations to ensure you're not voiding any warranties.
Final Thoughts
Mounting a rooftop tent is an adventure in itself, but the real joy comes when you can sit back and gaze at the stars from the comfort of your car-top retreat. With this guide, you’re now equipped with the knowledge and confidence to take on this project and hit the road.
Have you mounted a rooftop tent on your vehicle?
Share your experience in the comments below! Or if you have any questions, don’t hesitate to ask. Let’s build a community of rooftop campers, sharing tips, stories, and the love of the great outdoors.
Happy camping!
FAQs: Expert Answers to Your Top Questions
What security measures should I take?
Invest in a good quality lock system to secure your rooftop tent. Locking straps, cable locks, or locking mounts can prevent theft. When not in use, store your tent in a secure location, and when on the road, try to park in well-lit or populated areas.
How should I store my rooftop tent when not in use?
Store your rooftop tent in a dry, covered area to protect it from the elements and pests. If possible, keep it mounted on your vehicle or suspended in a garage to save space and avoid any contact with the ground, which can cause dampness and potential damage.
Can I install a rooftop tent by myself?
While it's possible to install a rooftop tent by yourself, it's not recommended due to the size and weight of the tent. It's a two-person job at a minimum, and having an extra set of hands can make the process much safer and more manageable.
How do I know if the tent is properly secured to my vehicle?
After installation, give your tent a good shake to ensure there is no movement. Drive your vehicle around the block and recheck the tightness of all fasteners. Regular checks are essential, especially after driving on rough terrain.
Can I drive with the tent open?
No, you should never drive with the tent deployed. Always ensure your rooftop tent is properly closed and secured before driving to avoid accidents or damage to your tent and vehicle.